There are so many drawing techniques with which you can draw a skull from scratch even if you are a beginner. These techniques vary from one drawing to another according to the drawing and its direction. You can draw a skull from the front or its side as you might prefer. Every drawing has its different steps and techniques. Anyway, I’ll give some basic steps to draw a complete skull as fast and easy as possible.

A full skull drawing
1 At the beginning, you should try drawing the outlines of the skull on the papers by using a pencil or anything can be corrected or erased if you made a mistake. You can draw a circle or an oval shape as a simple outline.

The outlines of the skull
2 You can then draw some lines to determine the location of every part of the skull. You must set the eyes location, nose, mouth and ears. These lines should be done horizontally and vertically or even a circle and a square in other sorts of techniques. You should choose the easiest technique for you before getting to draw any particular part of the skull’s face, and then, these lines should be erased.


The lines for selecting each part of the skull
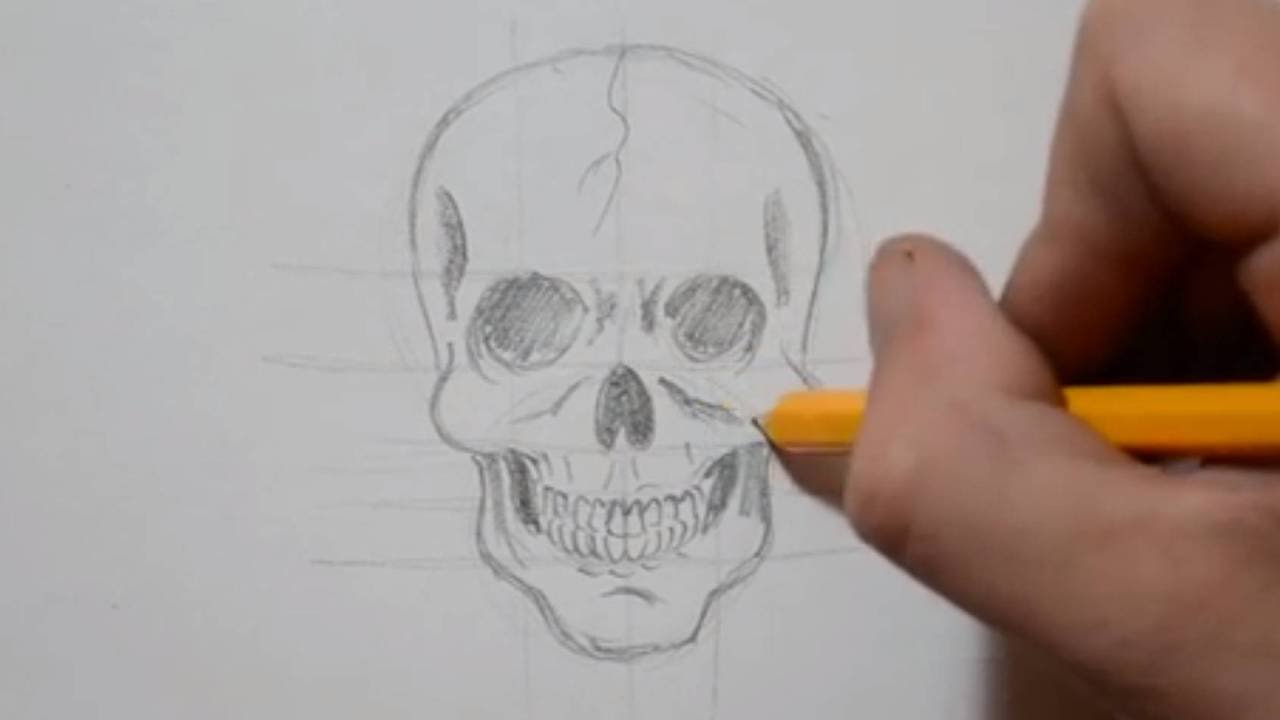
3 You should then draw the gaps of the eyes, the curve of the nose, the mouth line and the cheekbones. After that, you should fill each part with some shade to make them look more noticeable as skull parts. Try to draw some teeth on the mouth line to look exactly like a true skull. These parts are the most important and toughest parts of this drawing.

Another skull shape
4 You should then draw the last part of the face which is the ears. Start then to erase the vertical and horizontal lines you made to select the location of each part of the skull’s face. You can add a personal touch to the drawing or you can also draw some crossbones to the skull as some other people like to do so as well. After all, it’s your drawing and you can do whatever you like.

A crossbones skull drawing
5 You can then apply colors to your drawing. It might be tough to color this drawing but if you don’t want to, then you can just apply some black shade on the eye gaps and the teeth lines if you prefer to do so.
You should have drawn a full skull drawing by now if you followed these specific simple steps.

Applying some shades to the drawing
As you have seen, there is more than one technique for drawing skulls. You should get some papers, pencil, and eraser to prepare for drawing a skull shape. Then you can start with the outlines, then the inner parts of the face and ears. The last part is to erase the lines for selecting the parts locations and color the drawing as you wish. I hope you enjoyed these tips to be able to perform this drawing, especially on Halloween.
This video shows you an easy skull drawing step by step:
[youtube https://www.youtube.com/watch?v=mWfM-VUeMTE]